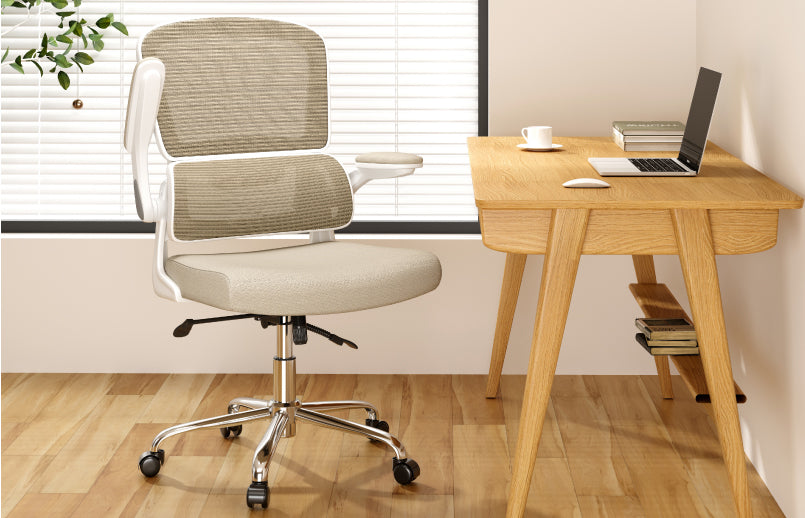
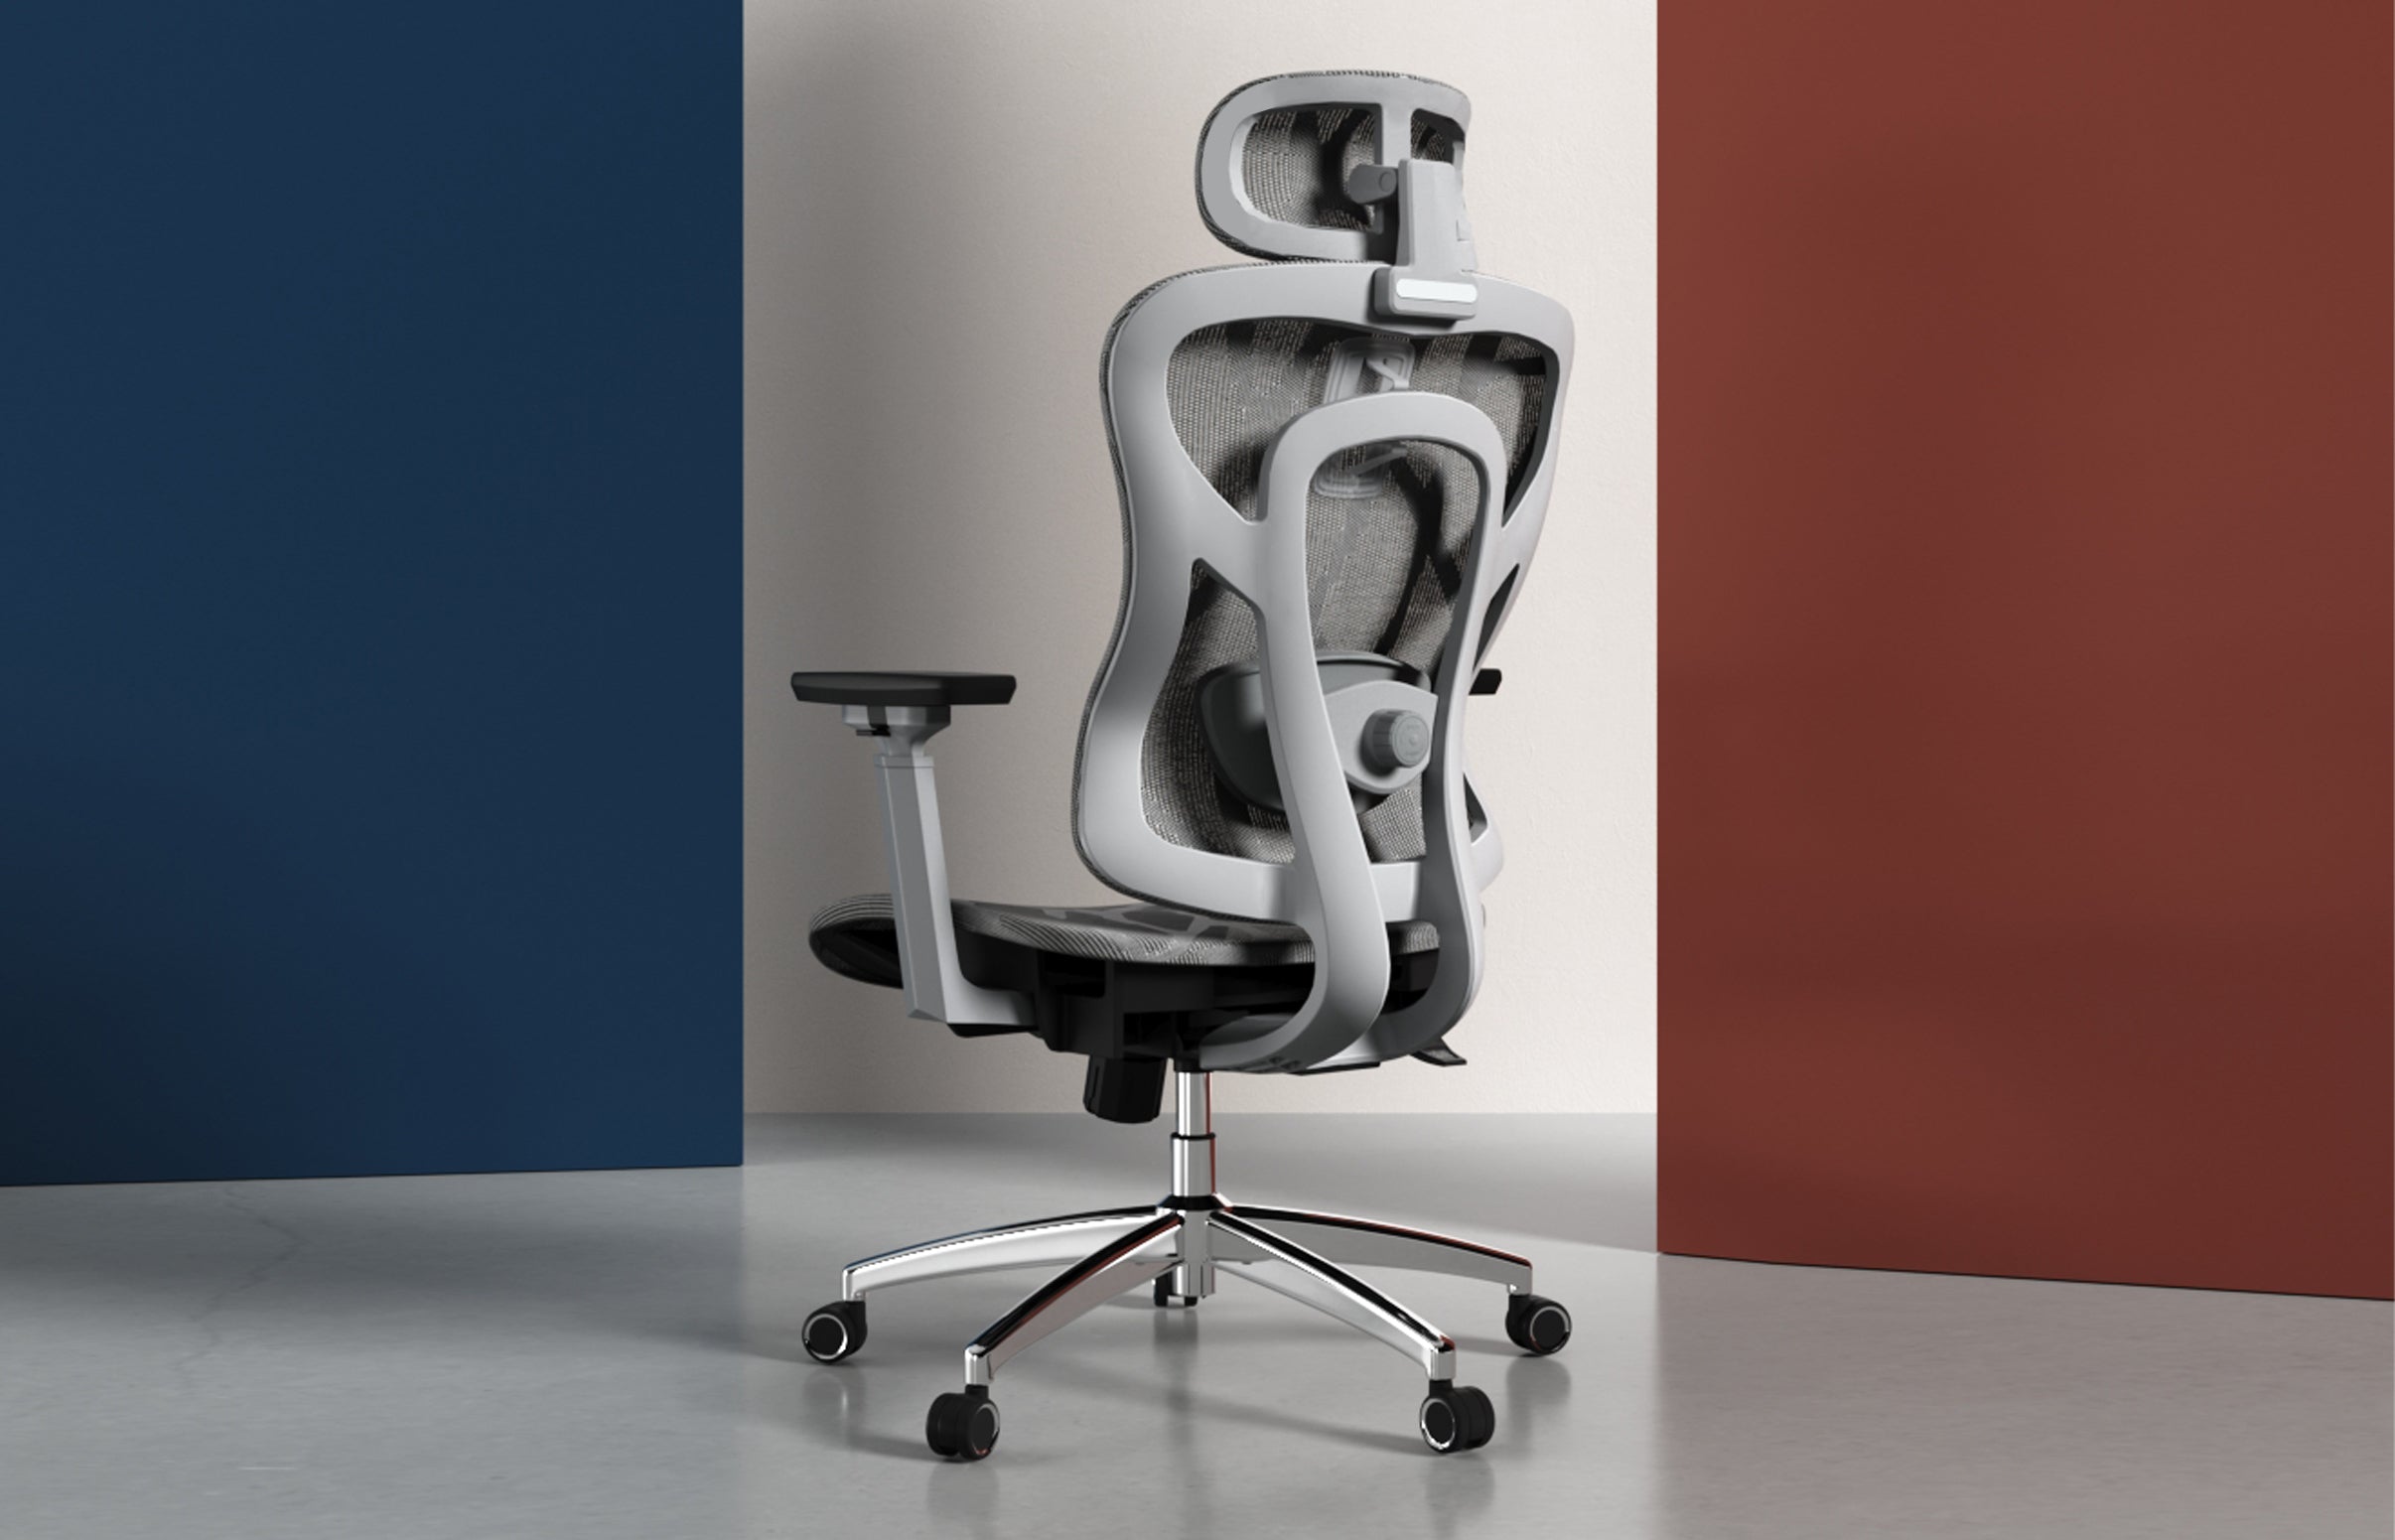
An ergonomic office chair is specially designed to provide proper support for your body while sitting for prolonged periods. Investing in an ergonomic chair and setting it up correctly can help improve posture, reduce strain, and increase productivity.
Assembling an ergonomic chair is typically straightforward, though the specific steps can vary slightly depending on the model. With some basic mechanical skills and the right tools, you’ll have your new chair built in no time.
Preparation
Before beginning assembly, clear an open, flat area to work in and unpack all chair components and hardware. It’s crucial that you carefully read the instruction manual cover to cover first to understand the process. Familiarize yourself with the chair parts and diagrams of the assembly sequence.
- Ensure you have the necessary tools on hand. This usually includes:
- Allen wrenches
- Adjustable wrench
- Phillips and flathead screwdrivers
- Pliers
- Rubber mallet/hammer
- Clear away clutter and debris to avoid damaging chair parts. Cover carpets or floors if needed.
- Carefully inspect components for defects before assembling.
Base and Wheels
The base of the chair provides stability and mobility via the attached wheels.
- Locate the star-shaped chair base with 5 holes to insert the wheels. Also find the gas lift cylinder and plastic base cover (if included).
- Attach the 5 caster wheels by firmly pushing each one into the holes at the ends of the base until they click securely into place. Wheels should rotate smoothly.
- Slide the plastic base cover over the center opening (if needed), then insert the gas lift cylinder through this hole, pressing firmly to lock into position.
Seat and Backrest
With the rolling base assembled, next you’ll attach the main chair components.
- Position the chair seat upside down. Align the bottom of the seat with the protruding gas lift cylinder and slide down firmly until locked in place. Verify the seat can swivel smoothly yet feels securely attached.
- Locate the adjustable backrest component. Slip it onto the rear of the seat, inserting the stems into the corresponding holes underneath the seat. You’ll hear a distinct “click” when the backrest locks into place.
- Use included hardware to securely fasten the backrest if needed. Tighten screws with an Allen wrench. Do not overtighten.
Armrests and Accessories
Armrests and other ergonomic accessories like headrests may be included with your chair.
- To install armrests, locate the screw holes on the underside of the seat. Slide each armrest stem into the holes, aligning any adjustment buttons or levers on the top-side.
- While applying slight downward pressure, securely tighten the screws from underneath using a Phillips screwdriver. Test that the armrests can still be adjusted and swivel properly before tightening fully.
- For accessories like lumbar support cushions or headrests, consult manual for attachment instructions. Typically these involve elastic straps or adjustable slides. Ensure accessories are firmly secured at comfortable positions.
Final Adjustments and Testing
With assembly complete, make any final tweaks before using your chair.
- Adjust the seat height by pulling up on the lever under the right side of the seat. Lift your body weight while adjusting to set the height.
- Fine tune the backrest recline and tilt tension based on your preferences.
- Make any needed adjustments to the armrest width, height or depth as well.
- Slowly recline back fully in the chair, then lean forward again to verify smooth rocking motion.
- Carefully roll the chair around on different surfaces to test the wheel mobility.
Take a few minutes sitting in your new ergonomic chair to get a feel for the comfort. Make any final seat adjustments needed. You can now roll up to your workspace in adjustable, supportive style.


 United States
Leave a comment